Step by step
I created a demo site to understand the steps. https://recipe-app-rho-lemon.vercel.app/ here
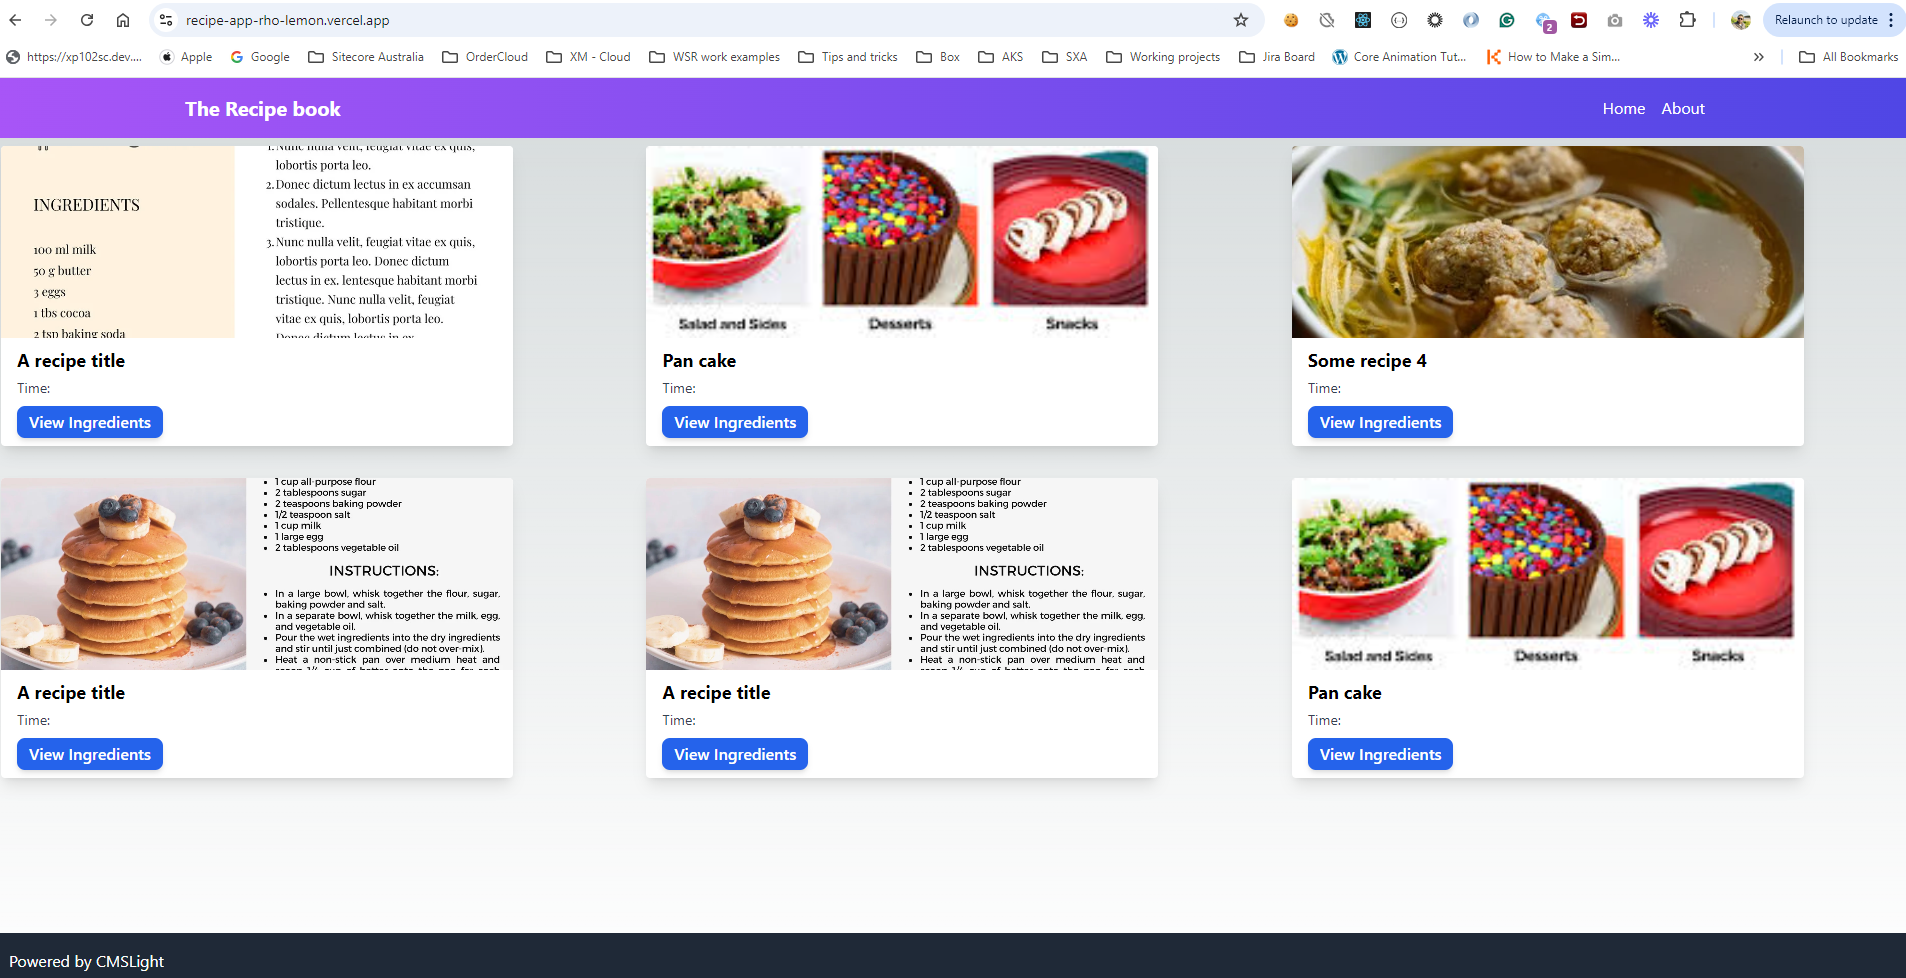
I will explain the step you need to configure in the CMSLight portal to achieve this.

I will explain the step you need to configure in the CMSLight portal to achieve this.
- Step1: Assuming you already created a tenant and website after the registration. Let's configure the datasource and the component for a page
- Step2: Configure the datasource: Datasource is the data that you are gonna expose to the head application. Remember, you can only expose the datasource via the Component. So, first thing first, let's create a datasource. There are 2 options to create the datasource. 1) Global datasource and 2) Local datasource.
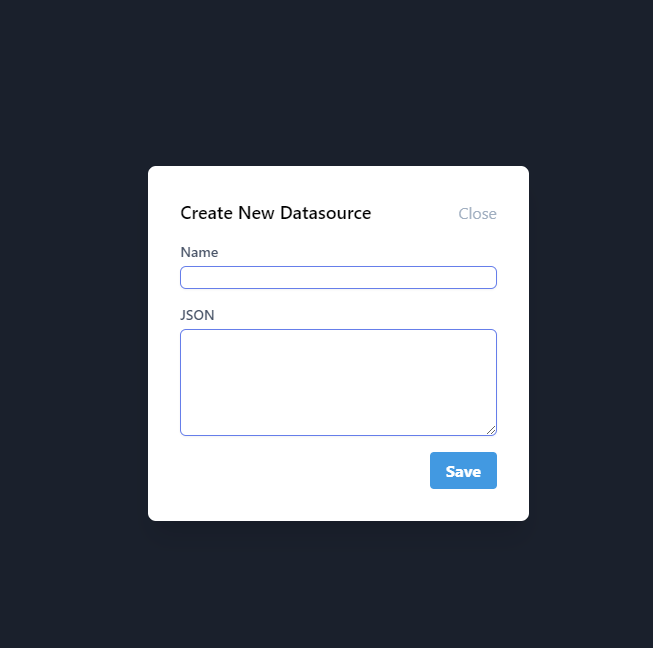
Global datasource: You can configure Global datasource under the website.Click the Add Datasource button which will bring the Add Datasource pop-up window.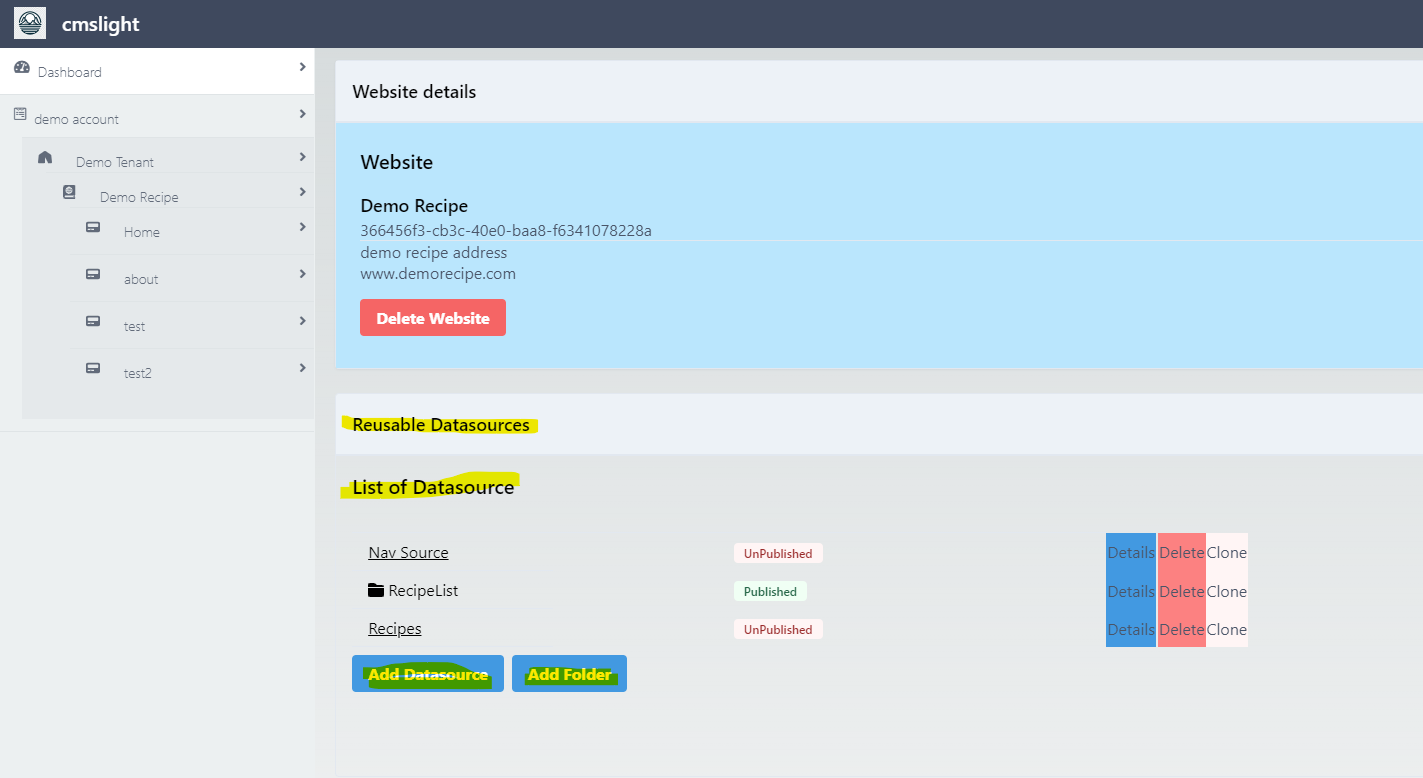 Add a name of the datasource. Please use a name which is more friendly and readable. The Global datasource can be used multiple places (reusable). The idea is, if you need the same data to other places, you can use the same source. Let's called a source name Header and press Save button. In the JSON field, optionally, you can add some more data, Let's leave that one for now. Now, once that's done, in the List of Datasource you would see the newly created datasource. Click that datasource add fields in it.
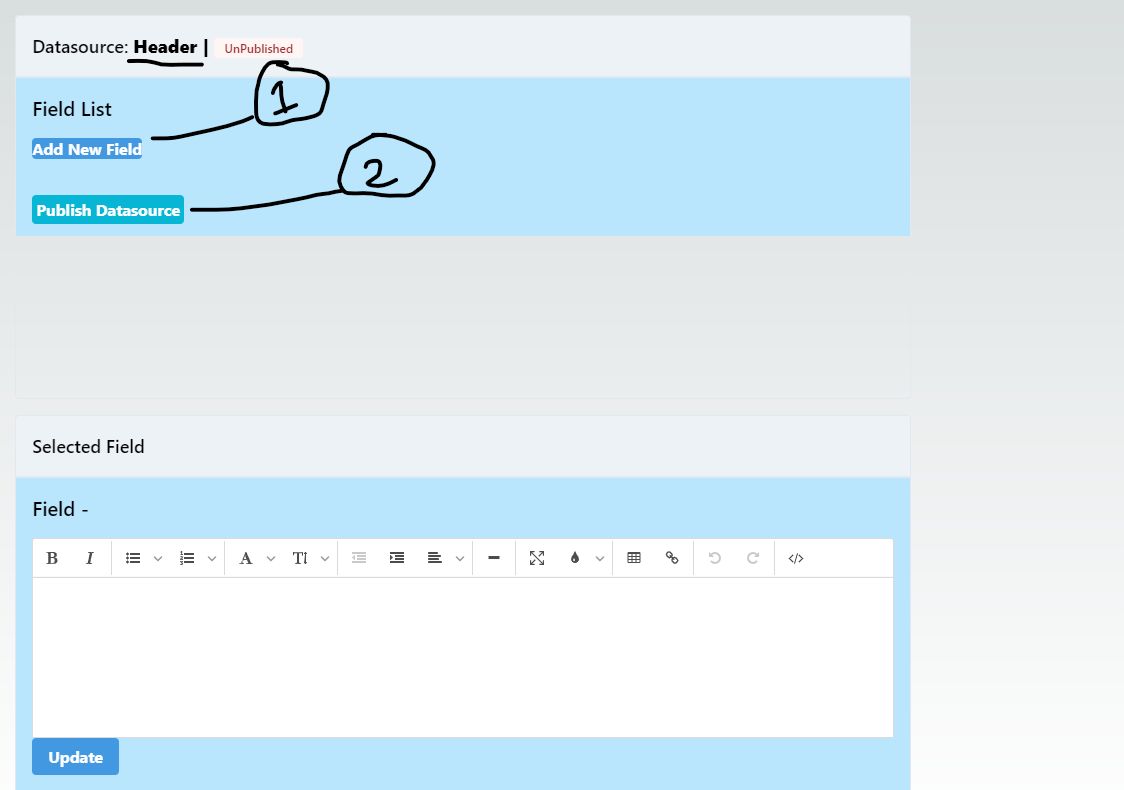
 So, from that above picture, pay attention to those numbers. 1) You can click this to add field to capture data. 2) Once you are ready, you can publish this datasource so that the delivery API can serve this. Note, if you still want to use the non-published data, you need to use the Preview API. I will explain those later. Click Add New Field button which will allow you to choose a field type from a bunch of options
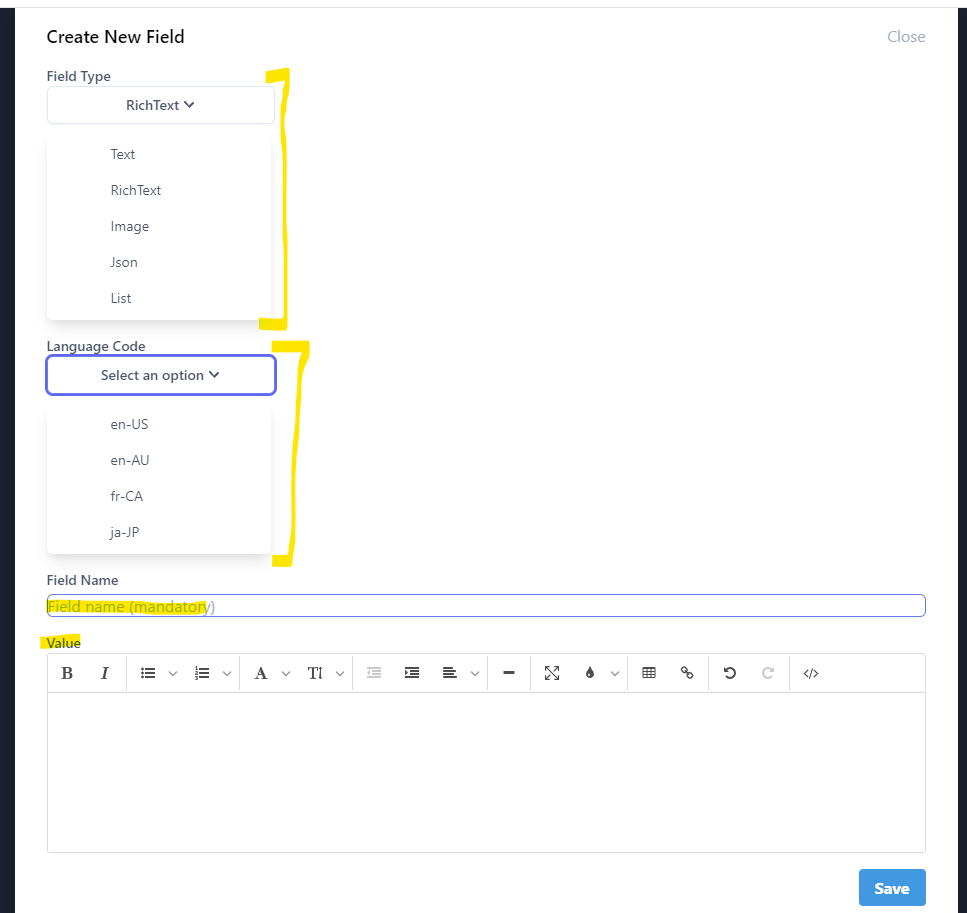
 You can see, Field Type where you can select the type of the field. The Language Code can be used to select a language of this field And then a Field Name which can be used to retrieve this later from the head application. Finally Value where you add the value that you want to add. Similarly, you can select RichText, Image, Json and List types. So, after some field, you might see something like below:
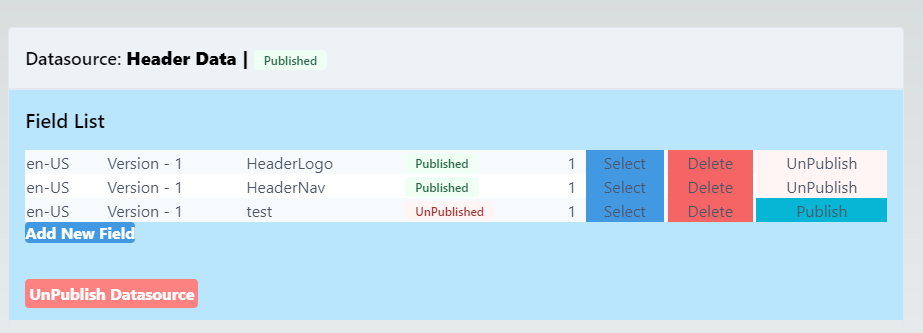
 Now, you can see, you can publish/un-publish fields. You can also publish the Datasource as a whole. Once the datasource is developed, we can go to the next step which is assigning the datasource to component
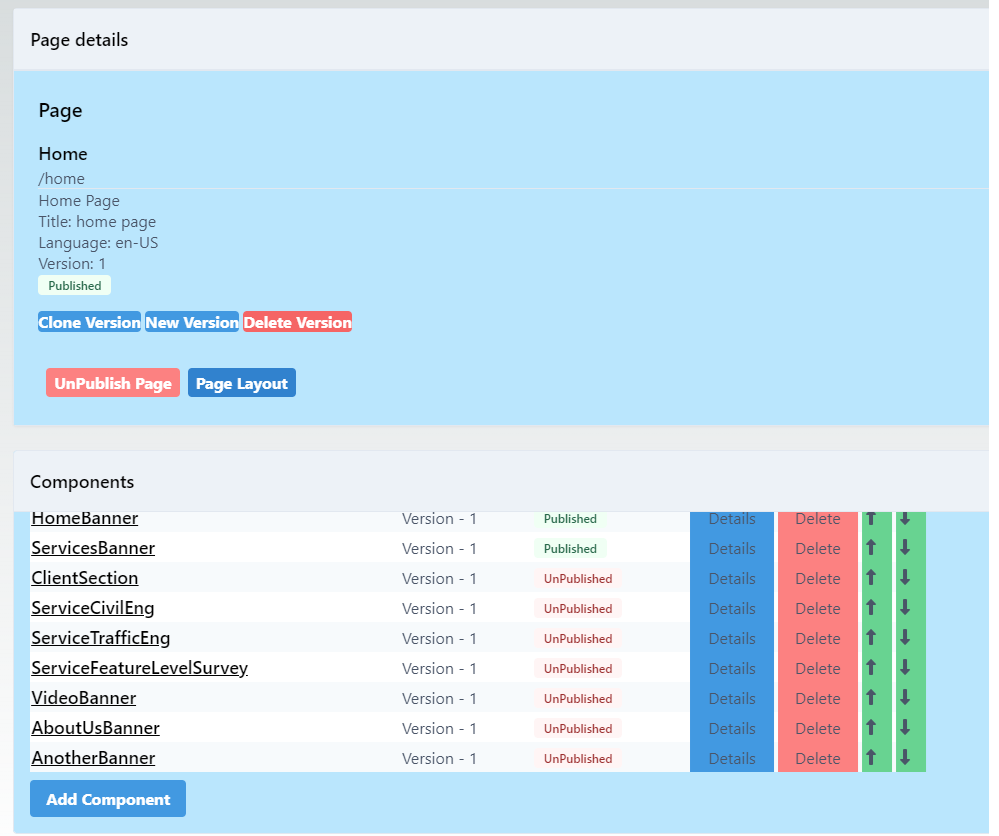
- Step 3: Imagine your website needs 3 pages, Home, About and Contact-Us. You need to create those pages here now. Let's create the home page So here, you can see under the page, there are some page metadata at the top. At the bottom section, you can see the list of components. Component creation is same as Datasource. So once a component is created, if you click this, it will give you the details page
 Here, you see we already have a datasource assigned to this component called Hero Banner . You can click the unassign button and assign any other datasource you want.
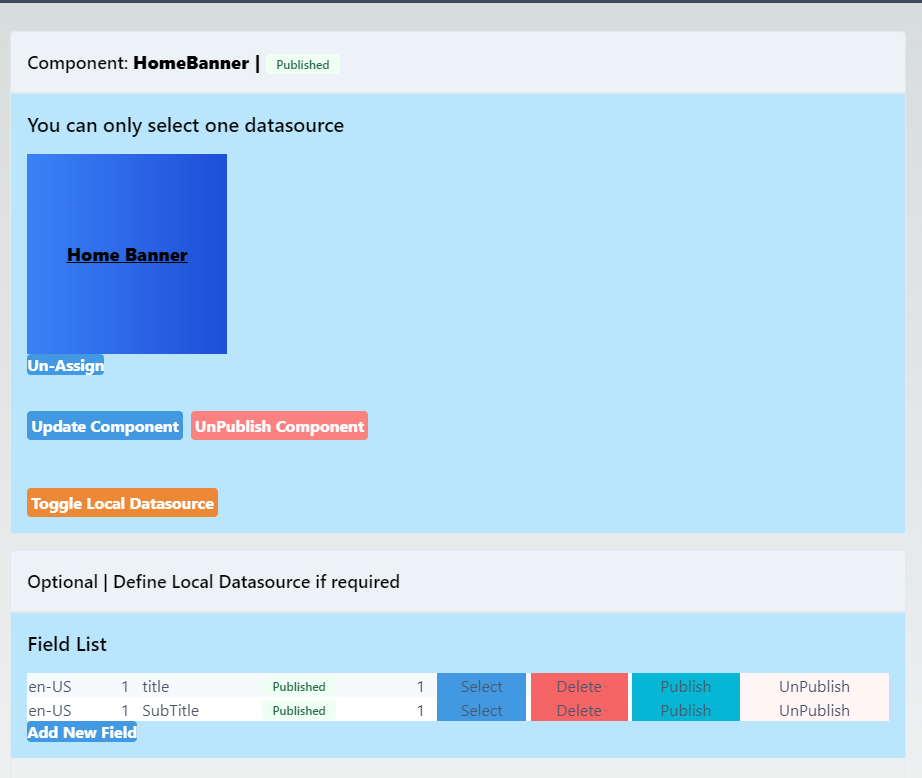
- Shared page: The idea of shared page is, the component which is shared between pages (i.e Header, Footer, LeftNav etc), you can create those components under SharedPage Then those component will be inherited to all other pages and you do not need to repeat them each pages. Funny, right ?
- Test: Now since you have pages, you have components for each of the pages where the datasource are assigned, we can test the data The way the API works is, you can call a page API (Layout API) and use the data to build the head application for that page. Let's go ahead and click the Page Layout button and see the response.
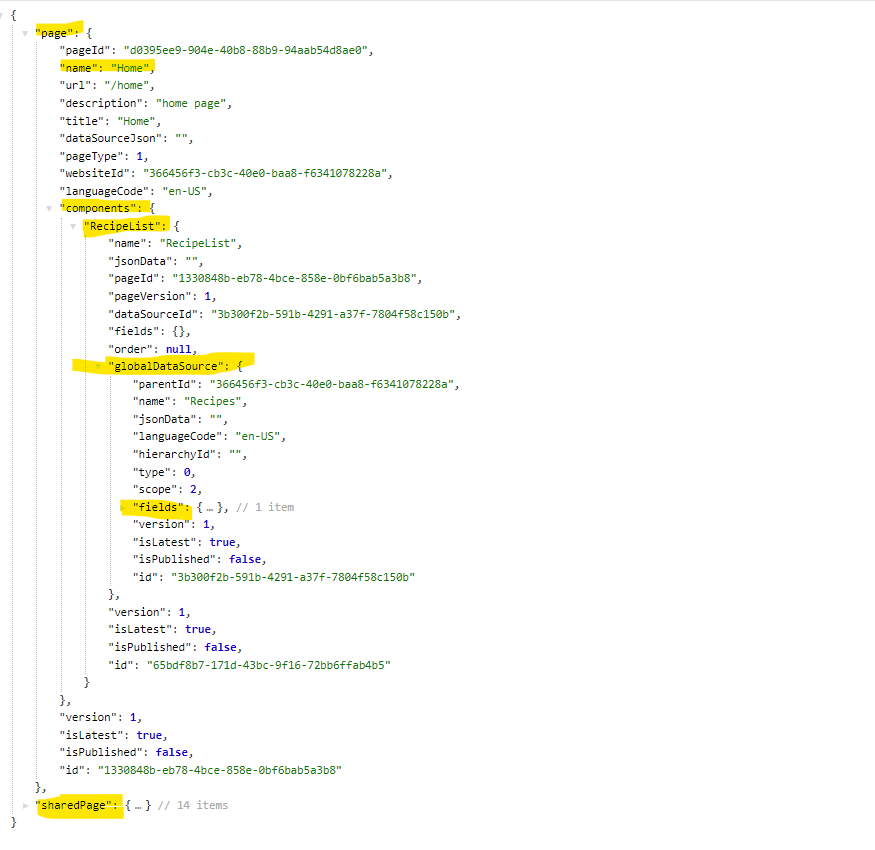
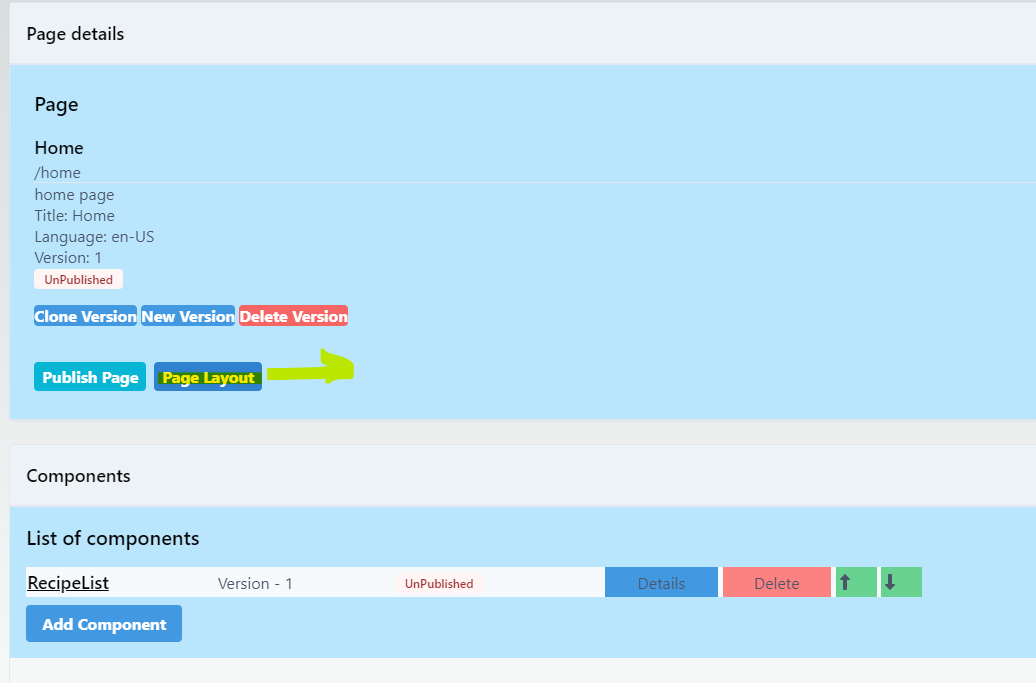 Now, see those highlighted mark to understand the schema. The schema is this: Page -> Components -> DataSource -> Fields | SharedPage -> Components -> DataSource -> Fields